Food pantry safety: essential checks for church ministries
Foodborne bacteria can double in as little as 20 minutes when food sits in the USDA Temperature Danger Zone: 40°F to 140°F.
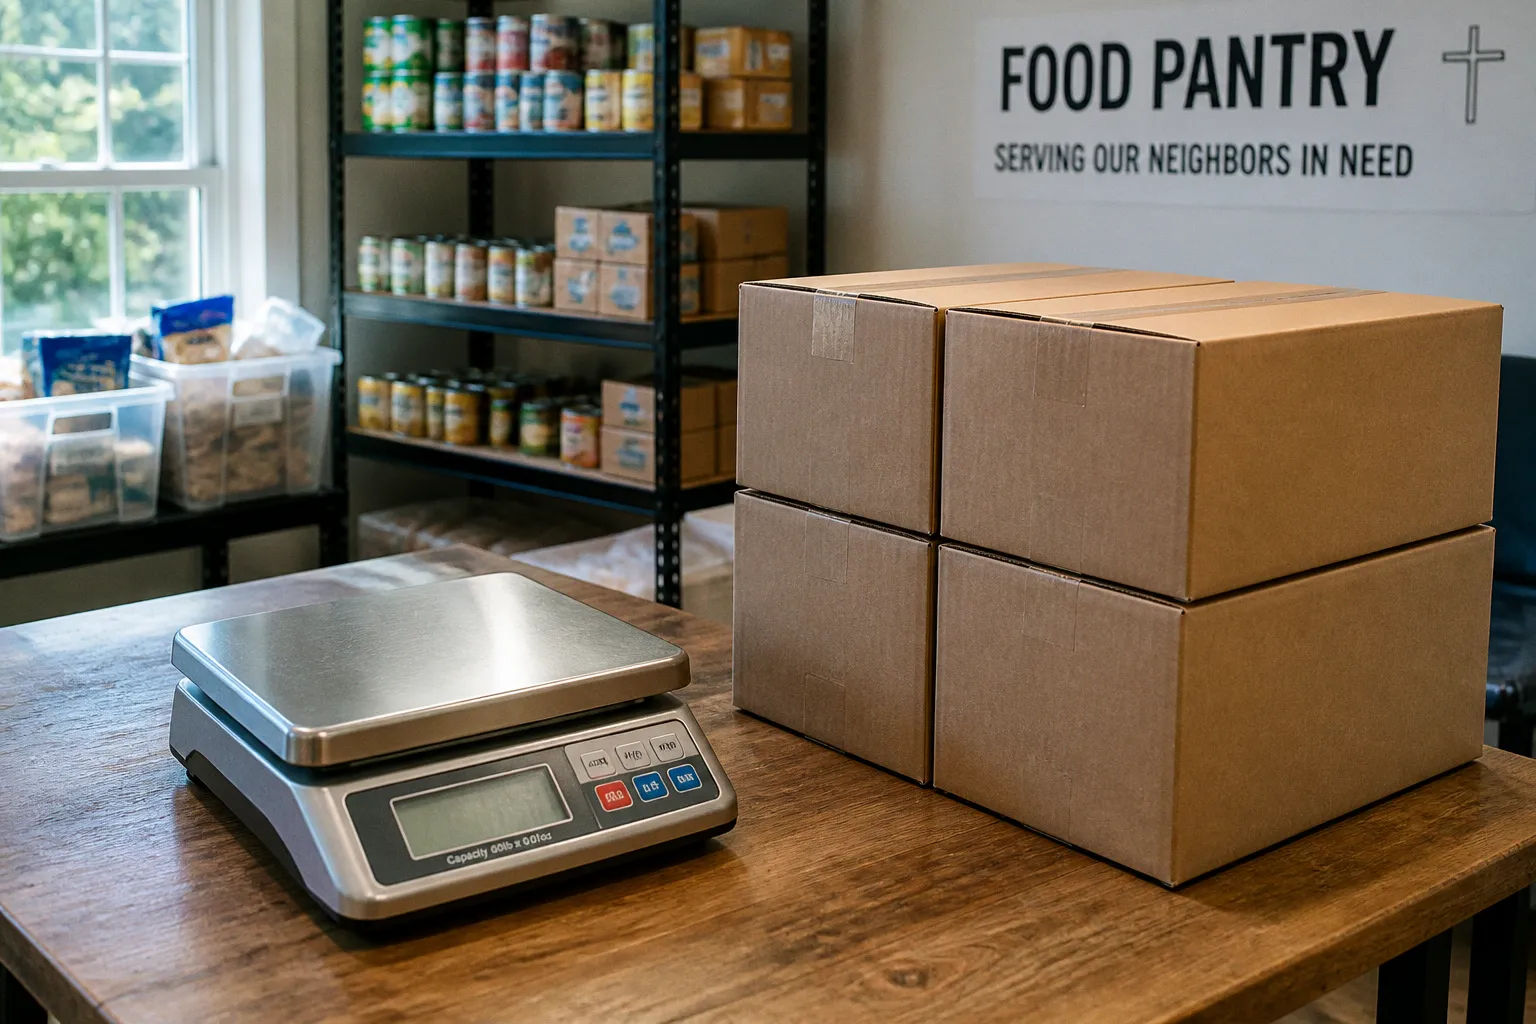
That single operating fact should shape every church pantry decision—from the moment a donation arrives to the moment a family carries food out the door.
Church food pantry safety requirements are not a side task for the hospitality team. They are a deployment standard. Your congregation accepts responsibility for food, volunteers, storage space, records, and distribution flow. If one part of that system fails, a well-intentioned ministry can create avoidable risk for the neighbors it serves.
The fix is practical. Build clear controls. Assign ownership. Train volunteers before the first shift. Then inspect the system every time the pantry opens.
Start with temperature control, not good intentions
Temperature control is the first operational checkpoint because unsafe holding conditions can affect food before anyone notices a problem. A refrigerator may look clean and organized while running too warm. A freezer may appear full and functional while food partially thaws during repeated door openings.
Your church pantry should maintain:
- Refrigerated foods at 40°F (4°C) or below.
- Frozen foods at 0°F (-18°C) or below.
- A reliable thermometer in each refrigerator and freezer.
- A written temperature log for every distribution or receiving shift.
Do not rely on the appliance’s built-in display alone. Place a separate appliance thermometer where volunteers can read it quickly. Record the actual temperature at opening and closing, and whenever a delivery or large donation enters the unit.
A full refrigerator also needs airflow. Volunteers often pack shelves tightly to increase capacity, but blocked circulation creates warm pockets. Keep food arranged so cold air can move around containers. Place raw or leak-prone items below ready-to-eat foods, and use sealed containers whenever possible.
Build a receiving procedure
The highest-risk moment may occur before food reaches your shelves. Donations can arrive after a long drive, sit in a church hallway, or wait while volunteers sort boxes. Your receiving team needs a short, repeatable sequence:
1. Move perishable food to temperature-controlled storage immediately.
2. Check refrigerated and frozen items before accepting them into inventory.
3. Separate food with damaged packaging, leaks, unusual odors, or signs of thawing.
4. Record the donor, date received, and general food category when your system requires it.
5. Tell the shift leader about any temperature concern before distribution begins.
Do not let a crowded schedule turn the fellowship hall into temporary food storage. If the refrigerator lacks capacity, pause the intake or coordinate another storage location. Capacity planning is part of safe food donation management.
Your pantry’s cold-storage capacity sets the limit for how much perishable food you can accept. Donations do not create refrigerator space.
Treat the danger zone as a workflow problem
The 40°F–140°F range is not just a number for a training poster. It identifies where your process is weak. Food enters that range when volunteers leave boxes beside a loading door, when a freezer door stays open during sorting, or when prepared items wait on a table while the team handles registration.
Map the movement of food through your building:
- Delivery entrance
- Inspection and sorting table
- Refrigerator or freezer
- Dry-storage shelves
- Packing station
- Distribution table
- Client pickup area
Then identify where food could sit without active supervision. Those points need a timer, a designated volunteer, or a redesigned handoff.
For large distributions, assign one person to manage cold-chain movement. That volunteer does not need to supervise the entire pantry. Their job is narrower: monitor refrigerated and frozen products, limit door-open time, and escalate temperature problems.
Set dry-storage standards that volunteers can follow
Dry goods and shelf-stable foods require more than a clean room. Your church pantry storage standards should protect inventory from pests, moisture, cleaning chemicals, and unnecessary handling.
Store every food item at least six inches off the floor on shelving or pallets. This clearance supports cleaning, improves air circulation, and reduces exposure to pests or leaks. Plastic bins do not make floor storage acceptable. A sealed package can still be damaged by moisture, insects, rodents, or cleaning activity around it.
Keep dry storage reasonably cool and dry. A recommended range for dry storage is 50°F to 70°F. Avoid placing food beside radiators, hot mechanical equipment, exterior doors with water intrusion, or windows receiving direct sunlight.
Organize the room by product and risk
A pantry team moves faster when the room communicates the next action. Use distinct shelving zones for:
- Canned vegetables and fruit
- Canned meat and protein
- Grains, pasta, and rice
- Breakfast foods
- Baby and children’s items
- Beverages
- Special-diet products
- Cleaning and non-food supplies
Label shelves at eye level. Keep heavier cans on lower shelves and lighter packages higher up. Do not stack items so high that volunteers must pull from the middle of a leaning column. A falling case is a safety incident waiting for a volunteer’s hands.
Place cleaning supplies and other chemicals on separate shelving units, ideally at least four feet away from food inventory. A separate closet or locked cabinet is better. Never store bleach, degreasers, detergents, pesticides, or similar products above food.
Your neighborhood audit should include the entire storage footprint, not just the pantry room. Check hallways, donated-goods staging areas, freezers in other parts of the building, and any cabinet used during overflow. Food safety breaks down at the edges of the system.
Inspect the room on a fixed schedule
Assign a storage captain for each service cycle. Their inspection should cover:
- Evidence of pests or droppings
- Wet or damaged cartons
- Food stored on the floor
- Leaks from roofs, pipes, or refrigeration units
- Unlabeled or unidentified products
- Expired or compromised packaging
- Chemicals placed near food
- Shelves that block exits, electrical panels, or equipment access
Correct small issues immediately. Record larger issues and assign a person and deadline. A pantry that merely notices problems without closing them has no functioning control system.
Make FIFO the default movement pattern
The First-In, First-Out system—FIFO—keeps older inventory moving before newer donations. It reduces forgotten stock, simplifies sorting, and gives volunteers a clear answer when several cases contain the same product.
The operating rule is simple: place the earliest expiration or use-by date at the front, and load newer inventory behind it.
Do not treat FIFO as a one-time warehouse project. Volunteers must apply it every time they stock a shelf. If a delivery arrives on Tuesday, the new cans should not automatically go in front because that is faster. Pull the existing stock forward, place the new stock behind it, and return the older items to the active distribution area.
Use shelf labels or date markers when the packaging is difficult to read. A colored month sticker can help volunteers identify older cases quickly, but the method must be consistent. Do not introduce a color system that only one coordinator understands.
Separate quality dates from safety decisions
A printed date does not automatically mean that food has become dangerous. In particular, a Best If Used By date generally relates to peak quality rather than a strict bacterial-safety deadline. Your pantry still needs a clear policy for dated goods, but that policy should distinguish quality, package condition, storage history, and product type.
When volunteers encounter dated food, they should not make an improvised decision at the distribution table. Route the product to a trained coordinator. That person can apply the ministry’s written policy and any guidance from the regional food bank or local health authority.
For planning purposes, unopened high-acid canned foods such as fruits and tomatoes may have a shelf life of roughly 12 to 18 months, while unopened low-acid canned foods such as meats and vegetables may last two to five years, assuming proper storage and intact packaging. These ranges do not override inspection. A can with serious damage leaves the inventory regardless of its date.
A practical FIFO review includes:
1. Pulling the oldest visible stock forward.
2. Checking dates and package condition during stocking.
3. Moving questionable items to a marked hold area.
4. Recording products removed from service.
5. Reviewing slow-moving categories before accepting more donations.
This is capacity building, not paperwork. FIFO tells you what your congregation actually uses and where your storage plan is accumulating risk.
Inspect cans and packages before distribution
A damaged package can compromise food even when the damage seems minor. Volunteers need a shared standard. Without one, one person rejects a can while another places it into a family’s box.
Discard canned goods with:
- Severe seam dents
- Sharp dents in the body of the can
- Bulging or swollen ends
- Rusted exteriors that cannot be wiped clean
- Missing labels
- Leaks or signs of pressure damage
A dent that creates a sharp crease near a seam deserves special attention because the seal may be compromised. Do not ask volunteers to become investigators at the last minute. Train them to remove questionable items from active inventory and place them in a clearly marked hold or discard area.
The same principle applies to boxed, bagged, and bottled foods. Remove products with:
- Torn or open packaging
- Holes or gnaw marks
- Evidence of insects
- Water damage
- Broken seals
- Unknown contents
- Contamination from chemicals or cleaning products
Never pour questionable food into a new container and distribute it under a different label. Preserve product information when possible, especially for recalls or donor follow-up.
Use a two-person inspection for high-volume intake
When a large donation arrives, speed creates blind spots. Put one volunteer on case opening and one on product condition. The first person moves items. The second checks packaging, dates, and category placement.
This division prevents a common failure: the same volunteer handles boxes, reads labels, decides on condition, and stocks shelves while the line waits. A two-person deployment improves both throughput and accuracy.
At distribution, use the same inspection standard. Volunteers should scan each item as they build boxes, not assume that a previously stocked product remains acceptable. Look for leaking cans, crushed cartons, broken seals, and products that have been exposed to heat or moisture since the last shift.
Separate chemicals, equipment, and food traffic
Church buildings often serve several ministries at once. The pantry may share space with custodial teams, children’s programs, disaster-relief staging, or event setup. That shared use creates cross-contamination risks that a dedicated warehouse would control through layout.
Create a food-only zone. Keep cleaning chemicals, maintenance supplies, paint, fuel, pesticides, and other non-food materials away from food shelving. Store them on distinct shelving units, ideally at least four feet away, with labels facing outward and containers closed.
Do not place food boxes beneath leaking plumbing or beside mop buckets. Do not use food-storage shelves as a temporary landing place for tools, donation forms, or cleaning equipment. Every object in the room should have an assigned location.
Your church handyman ministry can support this work with tangible improvements:
- Install shelving that maintains six-inch floor clearance.
- Add splash guards or repair water-damaged walls.
- Improve lighting so volunteers can read dates and inspect cans.
- Mark refrigerator and freezer locations with temperature instructions.
- Repair door seals and broken shelving.
- Create a locked chemical-storage area.
- Add washable surfaces to the sorting station.
These projects often cost less than replacing spoiled inventory, and they reduce volunteer confusion every week.
Prepare for recalls before one happens
Recall readiness requires ownership. Assign a named staff member or volunteer to receive FDA and USDA recall alerts and communicate them to the pantry team. Do not make recall monitoring an informal expectation that belongs to everyone and therefore belongs to no one.
Your recall process should answer five questions:
- Who receives the alert?
- Where do they record the product details?
- How do they identify affected inventory?
- Where does the product go after removal?
- Who communicates with volunteers and, when necessary, recipients?
When a recall affects inventory, stop distribution of the identified product immediately. Move it to a marked hold area. Record the product name, lot or identifying information available on the package, quantity, date removed, and final disposition.
Keep donation and distribution records detailed enough to trace product movement. You do not need an elaborate software system to begin. A shared spreadsheet, paper log, or simple inventory form can work if volunteers use it consistently.
Train the shift leader to pause a distribution line when necessary. The goal is not to avoid inconvenience. The goal is to prevent recalled food from leaving the building while the team is still determining what happened.
Turn volunteer training into a short deployment briefing
Most volunteers do not need a long lecture. They need clear assignments and a standard response to common problems. Before each new service cycle, run a brief orientation covering:
- Handwashing and personal hygiene expectations
- Who may handle refrigerated and frozen food
- Temperature targets
- The pantry’s hold-and-discard procedure
- FIFO stocking
- Damaged-package rules
- Chemical-storage boundaries
- Recall escalation
- Who has authority to stop distribution
Post the key numbers where volunteers work:
- 40°F or below: refrigerated food
- 0°F or below: frozen food
- 40°F–140°F: temperature danger zone
- Six inches: minimum clearance for dry goods off the floor
- 50°F–70°F: recommended dry-storage range
Use action language. Tell volunteers what to do, not only what to know:
- Move cold food now.
- Mark questionable items and notify the lead.
- Stock older product in front.
- Keep chemicals off food shelving.
- Stop distribution if a recall matches inventory.
A volunteer should never have to guess whether they can make a safety decision. Give them a clear escalation path. The shift leader owns the immediate call; the pantry coordinator owns the policy; the designated recall contact owns external alert follow-through.
Build the inspection into the ministry calendar
A food pantry becomes safer when inspection is part of the operating rhythm rather than a special event before a church council meeting. Schedule three levels of review.
Every distribution shift
The shift leader checks:
- Refrigerator and freezer temperatures
- Clear walking paths and exits
- Food off the floor
- Damaged or leaking packages
- Chemical separation
- Active FIFO movement
- Clean and usable sorting surfaces
Every month
The pantry coordinator reviews:
- Temperature logs
- Discard records
- Recall alerts
- Slow-moving inventory
- Pest-control concerns
- Volunteer coverage
- Equipment repairs
- Training gaps
Before seasonal or emergency operations
Disaster relief volunteering and holiday charity drives can increase volume quickly. Before expanding distribution, confirm:
- Available refrigerator and freezer capacity
- Additional shelving or pallet space
- Volunteer coverage for receiving and inspection
- A defined traffic pattern
- A plan for overflow donations
- Communication with the regional food bank or local authorities as needed
Do not scale the public promise beyond the ministry’s operating capacity. A larger distribution is not successful if it overwhelms cold storage, produces unsafe staging conditions, or leaves untrained volunteers making food decisions.
Close the loop with local requirements
The controls above provide a strong operational baseline, but they do not replace local requirements. Food pantry rules can vary by jurisdiction, facility type, food category, and relationship with a regional food bank. Your congregation should contact the appropriate county or municipal health department and confirm which licensing, inspection, training, and recordkeeping rules apply.
Do not assume a church pantry is automatically exempt from health inspections or food safety legislation. Do not assume a partnership with a food bank transfers every responsibility to the food bank. Ask for the written requirements that govern your location and service model.
Then place those requirements into the ministry’s operating documents:
- Volunteer orientation
- Receiving procedure
- Temperature log
- Cleaning schedule
- Discard policy
- Recall procedure
- Emergency contact sheet
- Monthly inspection form
The purpose is not to create a binder that sits untouched in an office. The purpose is to make the safe action the easy action.
The standard is dependable service
A church food pantry serves people who should not have to wonder whether the food is safe, properly stored, or handled with care. Your congregation can meet that standard with disciplined systems: cold food stays cold, dry goods stay elevated, older inventory moves first, damaged packages leave the line, chemicals stay separate, and recalls have an owner.
Start with one service cycle. Assign the roles. Post the temperature targets. Walk the storage area. Correct the first bottleneck you find. Then repeat the process until every volunteer can operate the pantry without guessing.
That is what reliable ministry looks like on the ground: not abstraction, but a clean handoff, a sound package, an accurate temperature log, and food reaching a neighbor safely.