Community garden projects: a step-by-step church launch guide
A church community garden fails for predictable reasons: no clear owner, no reliable water plan, no agreement about who receives the produce, and no volunteer system beyond a hopeful announcement after Sunday worship.
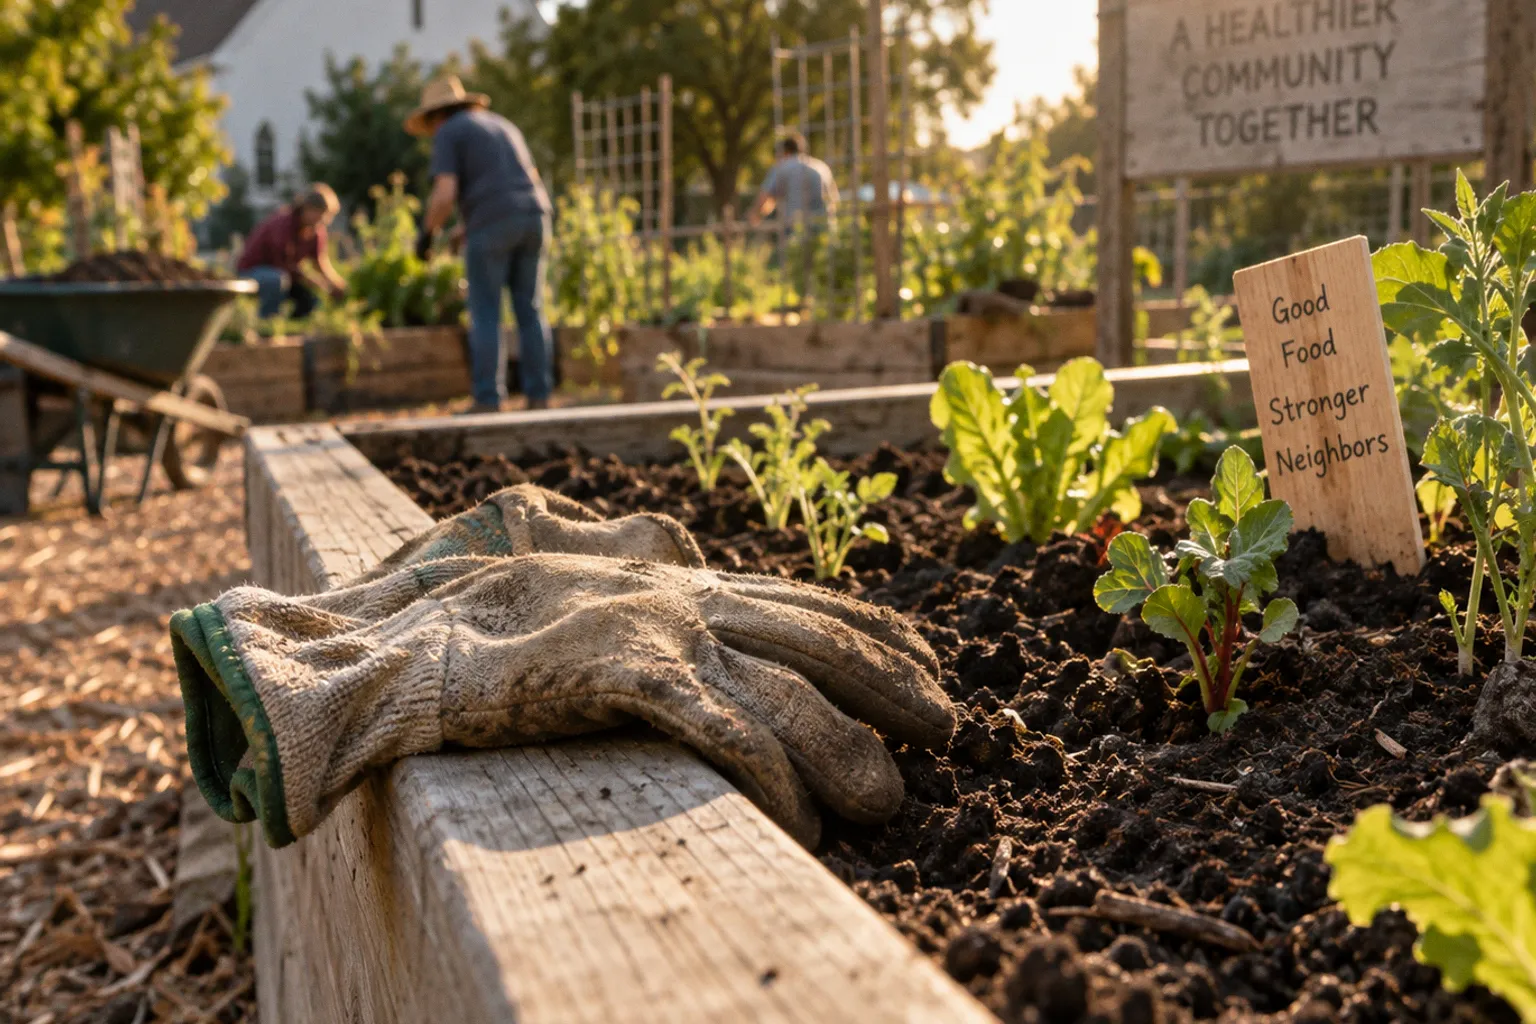
You can prevent those failures before the first bed is built. Church garden project planning works when your congregation treats the garden as a ministry deployment, not as a seasonal hobby. You need a responsible team, a viable site, a six-month launch window, and an operating model that can survive busy weeks, heat, vacations, and volunteer turnover.
The opportunity is substantial. In 2018, 48% of U.S. congregations participated in food-distribution work, either through their own programs or by supporting food banks and pantries. A separate study of 3,777 food pantries across 12 states found that 63.2% were faith-based. Your congregation would not be entering unfamiliar territory. A garden can extend an existing food ministry with a tangible local asset: land, produce, relationships, and regular service roles.
The key is to build the operating system before you build the garden.
Building a foundation: form the core leadership committee
Start with a small team of three to five committed people or families. Do not begin with a large committee. Large groups often produce broad enthusiasm and unclear ownership. A launch team needs people who will make decisions, complete assignments, and return for the next meeting.
Your first objective is not to choose tomato varieties. It is to establish capacity.
Assign clear roles from the beginning:
- Ministry coordinator: owns the timeline, schedules meetings, tracks decisions, and reports progress to the congregation.
- Site and infrastructure lead: evaluates land, sunlight, soil, water access, fencing, storage, and basic maintenance needs.
- Volunteer coordinator: builds the service calendar, recruits teams, confirms attendance, and creates backup coverage.
- Distribution lead: coordinates with the food pantry, shelter, meal program, or other recipients and sets standards for harvest and delivery.
- Congational liaison: connects the garden to worship life, youth programs, small groups, confirmation classes, and other ministries.
One person can hold more than one role in a small congregation. That is acceptable. What you cannot afford is a responsibility that belongs to everyone and therefore belongs to no one.
Set the ministry’s operating brief
Before you approach the church council or begin fundraising, write a one-page brief. Keep it concrete. Your team should be able to answer these questions in plain language:
1. What problem will the garden address?
Are you supplementing a food pantry, supporting a weekly meal, creating produce access for neighbors, or building regular service opportunities for the congregation?
2. Who will receive the harvest?
Name the intended recipients by program or partner. “The community” is not a distribution plan.
3. Who will maintain the site each week?
Identify the minimum number of people required for watering, weeding, harvesting, and delivery.
4. What will the congregation contribute?
List land, water, tools, volunteer hours, storage, transportation, and funding.
5. What will success look like after the first growing season?
Use measures your team can actually track: number of volunteer shifts filled, delivery schedule maintained, garden beds kept productive, or recipients served.
A garden ministry should not promise more than your congregation can sustain. If your team can staff two work sessions per week, design for two work sessions per week. Do not launch a site that requires daily attention unless someone has accepted that responsibility.
A church garden is not successful because the beds look full. It succeeds when the harvest reaches people through a system your congregation can maintain.
Build approval around responsibility, not excitement
Present the project to church leadership with a deployment plan. Include the proposed site, estimated workload, water access, distribution partner, volunteer structure, and six-month timeline. Avoid presenting only the inspirational case. Leaders need to understand what the church is agreeing to operate.
Secure decisions on:
- Who owns or controls the land.
- Who may authorize spending.
- Who carries responsibility for keys, tools, and storage.
- Whether volunteers need orientation or supervision.
- How produce will move from the garden to recipients.
- What happens if the garden cannot be maintained for a period of time.
- Whether the land arrangement will continue beyond the first season.
This is where many garden projects become unstable. A congregation approves the idea but never approves the workload. Put the workload in front of the decision-makers.
Site assessment: evaluate sunlight, soil, water, and tenure
A church property can appear ideal and still be unsuitable for vegetable production. Buildings create shade. Trees compete for water. Downspouts flood certain areas. Parking lots increase heat. A convenient patch of grass may have compacted soil, buried debris, or no practical access to water.
Conduct a neighborhood audit of the property before you design beds.
Confirm direct sunlight
Most vegetable crops require at least six hours of direct sunlight each day. Track the proposed site during different parts of the day. Morning brightness does not compensate for heavy afternoon shade if the total exposure remains too low.
Record:
- Approximate hours of direct sunlight.
- Shade from buildings, trees, utility structures, and fences.
- Seasonal changes caused by the sun’s position.
- Whether the site receives full exposure during the main growing period.
- The path volunteers will use to reach the garden.
Do not make a final site decision based on a single sunny afternoon. Observe the area over multiple days and, if possible, during more than one season. A site that receives adequate light but requires volunteers to carry water across a parking area may still create an avoidable operational burden.
Test the soil before planting
Soil testing belongs in the launch phase, not after poor growth reveals a problem. The test should guide decisions about whether you can plant directly in the ground, need raised beds, or should use containers.
Your team also needs to inspect the site for practical risks:
- Standing water after rain.
- Compacted ground that resists digging.
- Construction debris or visible contamination.
- Erosion or runoff from nearby surfaces.
- Animal access.
- Exposure to vandalism or accidental traffic.
- Safe access for children, older adults, and volunteers with mobility limitations.
Do not assume that raised beds solve every problem. They can improve growing conditions, but they also require materials, filling, maintenance, and a clear plan for repair. The right choice depends on the site and the congregation’s capacity.
Secure water access
Water is infrastructure. Treat it that way.
Identify the nearest reliable water source and determine how volunteers will use it. A hose connection may be enough for a small installation. A larger site may require a more deliberate irrigation plan. The team should know who turns water on, where hoses are stored, how leaks are reported, and what happens during a dry week when the normal volunteer cannot attend.
Write the water procedure down. A verbal agreement will not survive staff transitions or volunteer turnover.
Secure land tenure
If the garden will occupy property that the congregation does not own, formalize the arrangement. Community garden guidance commonly recommends a land agreement lasting at least three years. That period gives the ministry enough stability to build soil, establish routines, and develop relationships with recipients.
The agreement should address:
- Exact boundaries of the garden area.
- Access hours and entry points.
- Water use and responsibility for utility costs.
- Storage of tools and materials.
- Maintenance expectations.
- Removal or replacement of structures.
- Responsibility for damage or unsafe conditions.
- Renewal, termination, and notice periods.
A one-season verbal promise does not provide a dependable foundation for a recurring ministry. Secure the site before investing labor and materials.
Strategic planning: use a six-month launch window
Allow at least six months from initial planning to building and planting. This is not delay. It is the time required to complete the work that determines whether the garden can operate.
A compressed launch may produce beds quickly, but it usually leaves unresolved questions about volunteers, water, soil, distribution, and maintenance. Your first season should establish a repeatable process, not merely produce a visible installation.
Months one and two: define the mission and site
During the first phase, your team should:
- Form the three-to-five-person core committee.
- Identify the food-access need the garden will address.
- Meet with potential receiving ministries or community partners.
- Inspect possible sites.
- Track sunlight.
- Begin soil testing.
- Confirm water access.
- Identify land ownership and approval requirements.
- Draft the operating brief.
Do not order materials until the site passes this assessment. Purchasing is not progress if the plan remains unresolved.
Months three and four: build the operating system
Now convert the concept into assignments.
Create a basic volunteer calendar that covers:
- Site preparation.
- Bed construction or ground preparation.
- Soil delivery or amendments, if needed.
- Planting.
- Watering.
- Weeding.
- Pest and damage monitoring.
- Harvesting.
- Washing or handling.
- Delivery.
- End-of-season cleanup.
For every recurring task, assign a primary owner and a backup. A schedule with only names and dates is not enough. Include the task, expected time, required tools, meeting location, and cancellation process.
Recruit through multiple channels:
- Sunday announcements.
- Congregational newsletters.
- Small groups.
- Youth and family programs.
- Existing food ministry volunteers.
- Personal invitations from the core team.
Personal invitations usually produce stronger commitments than general appeals. Ask people for a specific shift or responsibility. “Can you join the garden?” is vague. “Can you lead the Tuesday evening watering rotation for six weeks?” gives the volunteer a real decision.
Months five and six: prepare the deployment
The final phase should focus on readiness:
- Confirm the distribution schedule.
- Label and organize tools.
- Train volunteers on safe tool use.
- Create a contact list.
- Post a simple site map.
- Mark beds and pathways.
- Confirm who can access the site.
- Test the watering procedure.
- Run a workday before the main planting event.
- Communicate weather and cancellation plans.
- Set the first harvest and delivery expectations.
The planting day should not be the first time volunteers discover where tools are stored or who is responsible for produce. Use the launch event to execute a prepared plan.
Choose a produce distribution model before planting
The distribution model determines what you grow, how much labor you need, and when volunteers must work. Decide this before selecting crops.
Model one: direct pantry supply
The garden delivers produce to a church food pantry or an established partner. This model creates a straightforward chain of custody. The distribution lead confirms what recipients can use, when deliveries are accepted, and how produce should be packaged.
Advantages include:
- A known recipient structure.
- Predictable delivery points.
- Easy integration with an existing ministry.
- Clear communication with pantry volunteers.
The limitation is that the garden must follow the pantry’s operating schedule. If the pantry cannot receive produce on short notice, the garden needs another outlet for surplus.
Model two: meal ministry support
The garden supplies a congregational meal, shelter meal, or community kitchen. This model can absorb larger quantities of certain crops, but it requires coordination with kitchen staff.
Clarify:
- Which crops the kitchen can prepare.
- How much produce it can handle at one time.
- Whether produce must be washed or sorted.
- How far in advance the kitchen needs notice.
- Who transports the harvest.
- What happens when the garden produces more than the meal program needs.
A meal program may value fresh produce, but it may not have capacity to process a large harvest on a busy day.
Model three: community distribution
The congregation distributes produce directly through scheduled pickup, neighborhood events, or a free produce table. This model can make the garden highly visible and relational. It also creates additional logistics.
You will need:
- A consistent distribution time.
- A weather plan.
- Clear quantity limits if supply is limited.
- Volunteers to set up and clean up.
- A process for handling leftover produce.
- Communication that reaches people beyond Sunday worship.
This approach can support faith-based community gardening outreach, but it should not be launched casually. Direct distribution requires reliable volunteer coverage every time you open the table.
Model four: shared harvest
A portion goes to a pantry or meal ministry, while volunteers and neighbors receive another portion. This model can strengthen participation and reduce waste, provided the allocation is clear.
Do not let the distribution policy emerge through informal decisions at harvest time. Write it down. For example:
- Which percentage or portion goes to the designated food ministry.
- Whether volunteers may take surplus.
- How produce is handled when the receiving partner is closed.
- Who may authorize a change in distribution.
The exact allocation will vary by congregation. The essential point is consistency.
| Distribution model | Primary logistics | Volunteer demand | Main risk |
|---|---|---|---|
| Pantry supply | Scheduled harvest, sorting, and delivery | Moderate | Recipient cannot accept produce at harvest time |
| Meal ministry | Coordination with kitchen and transport | Moderate to high | Kitchen lacks capacity for sudden volume |
| Community pickup | Public schedule, setup, and communication | High | Volunteers must staff each distribution window |
| Shared harvest | Written allocation and surplus rules | Moderate | Confusion about who receives what |
Build a volunteer system that survives ordinary life
Church garden volunteer coordination must account for missed shifts. People become ill. Families travel. Weather changes. A ministry that depends on every volunteer appearing exactly as planned is not a system. It is a fragile hope.
Create a staffing model with more than one layer:
1. Core operators: the people who understand the entire garden and can make decisions.
2. Recurring volunteers: people assigned to a regular weekly or biweekly shift.
3. Project volunteers: people who join planting, construction, cleanup, or harvest events.
4. Emergency backups: people who agree to respond when a scheduled worker cannot attend.
Use a shared schedule that shows open assignments. The coordinator should confirm shifts before the workday rather than waiting for volunteers to remember.
Keep work assignments specific. A volunteer should know whether the shift involves:
- Watering.
- Weeding.
- Harvesting.
- Washing and packing.
- Delivery.
- Tool maintenance.
- Site inspection.
- Volunteer communication.
Do not combine every task into one undefined “garden work” block. Specific assignments improve participation because people can see what they are agreeing to do.
Design for different abilities and ages
A strong congregation garden offers more than one kind of work. Some people can dig. Others can organize deliveries, make reminder calls, document harvests, label packages, or coordinate youth participation.
Build accessible roles such as:
- Seed and supply inventory.
- Volunteer check-in.
- Harvest recording.
- Produce weighing or counting, if your program uses those measures.
- Signage and communication.
- Refreshment coordination for workdays.
- Partner updates.
- Tool cleaning and storage.
This is capacity building. You are not merely filling slots. You are creating multiple entry points into the ministry.
For youth groups, set age-appropriate tasks and adult supervision expectations before the workday. For older adults or volunteers with limited mobility, provide seated sorting, labeling, planning, or raised-bed tasks where possible. The goal is participation with dignity, not symbolic inclusion.
Establish simple operating procedures
A garden ministry does not need a corporate manual. It does need repeatable procedures.
Create short instructions for the tasks that can disrupt the entire operation if handled inconsistently.
Watering procedure
Record:
- Which areas require watering.
- How often the site should be checked.
- Where equipment is stored.
- How to identify dry soil or damaged plants.
- Who receives an alert if water access fails.
- What the backup plan is during extreme heat or volunteer absence.
Harvest procedure
Define:
- Which crops are ready to harvest.
- What tools volunteers should use.
- How produce is handled after picking.
- Where harvest is placed.
- Who records the quantity or type of produce, if tracking is part of your ministry.
- When delivery occurs.
Distribution procedure
Specify:
- Delivery location.
- Contact person.
- Accepted days and times.
- Packaging expectations.
- What happens if no one can receive the produce.
- How surplus is redirected.
Safety procedure
Cover:
- Tool use.
- Heat and hydration.
- Children’s participation.
- Slips, trips, and uneven surfaces.
- Chemical or fertilizer use, if applicable.
- Severe weather.
- Emergency contact information.
Keep these procedures visible in the storage area or volunteer folder. Do not bury them in a long document no one opens during a workday.
Connect the garden to the congregation’s wider mission
A church garden should not operate as an isolated project managed by the same three people every week. Connect it to ministries that already have relationships, communication channels, and volunteer structures.
Potential connections include:
- Food pantry ministry.
- Homeless shelter support.
- Youth mission trips.
- Confirmation or Christian education.
- Small groups.
- Disaster relief volunteering.
- Church handyman ministry.
- Seasonal charity drives.
- Neighborhood outreach events.
The connection should be practical. A youth group might manage a planting day. A handyman team might build storage or repair fencing. A small group might own a recurring watering rotation. A food ministry might define the distribution requirements.
Avoid turning every connection into a public event. Some work requires quiet consistency. A weekly harvest and delivery may have more community impact than a large launch day followed by a month without maintenance.
Use worship and communication to sustain visibility
The congregation needs to know what the garden is doing and what support it requires. Share specific updates:
- Which ministry received the latest harvest.
- What volunteer coverage remains open.
- What infrastructure the garden needs.
- What the next workday will accomplish.
- What the team learned and will change.
Do not report only successful harvests. If watering coverage failed or the site needs a new solution, explain the operational issue and invite people to help resolve it. Honest reporting builds trust and turns passive interest into action.
The garden can also provide a concrete way to connect Lutheran communal life with service. Keep the language grounded. The theological claim becomes credible through practice: neighbors receive food, volunteers share responsibility, and the congregation directs its resources toward a visible local need.
Track outcomes without turning ministry into a spreadsheet exercise
You need enough information to improve the project and communicate its value. You do not need an elaborate measurement system.
Track a small set of indicators:
- Number of active volunteers.
- Number of filled and missed shifts.
- Number of work sessions completed.
- Distribution dates maintained.
- Types or approximate quantities of produce delivered.
- Recipient feedback.
- Infrastructure problems.
- Tasks that repeatedly lack coverage.
Review the data at the end of each month during the growing season. Ask direct questions:
- Which task consumes more time than expected?
- Where does the schedule break?
- Which volunteers are carrying too much?
- Is the distribution partner receiving what it can use?
- Is the site still viable?
- What should change before the next planting cycle?
Do not use these measures to rank volunteers or create pressure. Use them to identify bottlenecks. If one person performs every delivery, the data should trigger a backup plan. If the garden grows produce that recipients cannot use, the crop plan should change.
Common launch failures and the corrective action
The same errors appear across church community garden projects. Address them before they become expensive.
Starting with land instead of purpose
A congregation sees an unused property area and decides to build beds. Later, the team asks who will receive the food. Reverse the sequence. Define the ministry need and distribution model first, then select the site.
Recruiting everyone and assigning no one
A broad appeal creates a list of interested names but no accountable operators. Form the core committee first. Then recruit volunteers for defined shifts.
Underestimating water and summer maintenance
Planting is visible and easy to promote. Watering and weeding determine whether the garden remains productive. Build those assignments before the planting event.
Treating the first season as a final design
Your first season is a field test. Some crops will not fit the site. Some work times will fail. Some volunteers will prefer different roles. Review the operation and make changes rather than defending the original plan.
Building more capacity than the ministry can staff
A large garden can look impressive while placing an unsustainable burden on a small team. Start with the number of beds your congregation can maintain reliably. Expansion should follow demonstrated capacity.
Assuming immediate financial return
A church garden should not be justified as a quick revenue source. Its documented outputs are food access, community relationships, volunteer participation, and support for existing service ministries. Budget the project as outreach infrastructure.
The correct first-year target is not maximum acreage. It is a dependable harvest-and-delivery cycle that your congregation can repeat.
Final deployment: launch small, operate clearly, improve quickly
A sustainable church food ministry depends on sequence. Form the core team. Define the recipient. Audit the site. Confirm six hours of direct sunlight. Test the soil. Secure water. Establish land tenure. Build the volunteer calendar. Then plant.
Use the six-month planning window to remove uncertainty, not to create paperwork. Every planning task should answer a practical question: who acts, when, with what resources, and for whom?
Your church garden does not need to solve food insecurity across the entire community. It needs to become a reliable part of your congregation’s response. That means a viable site, a prepared team, a distribution model that matches your capacity, and enough discipline to keep the work moving after the launch-day energy disappears.
Start with three to five committed leaders. Design for the volunteers you actually have. Put the harvest into a clear pathway to neighbors. Review the system as you operate it. That is how a garden becomes ministry rather than infrastructure waiting for attention.