Church disaster response teams: pre-deployment checklist
Church disaster relief volunteer preparation fails at the point where enthusiasm outruns coordination. A congregation may have willing people, donated supplies, and a list of names.
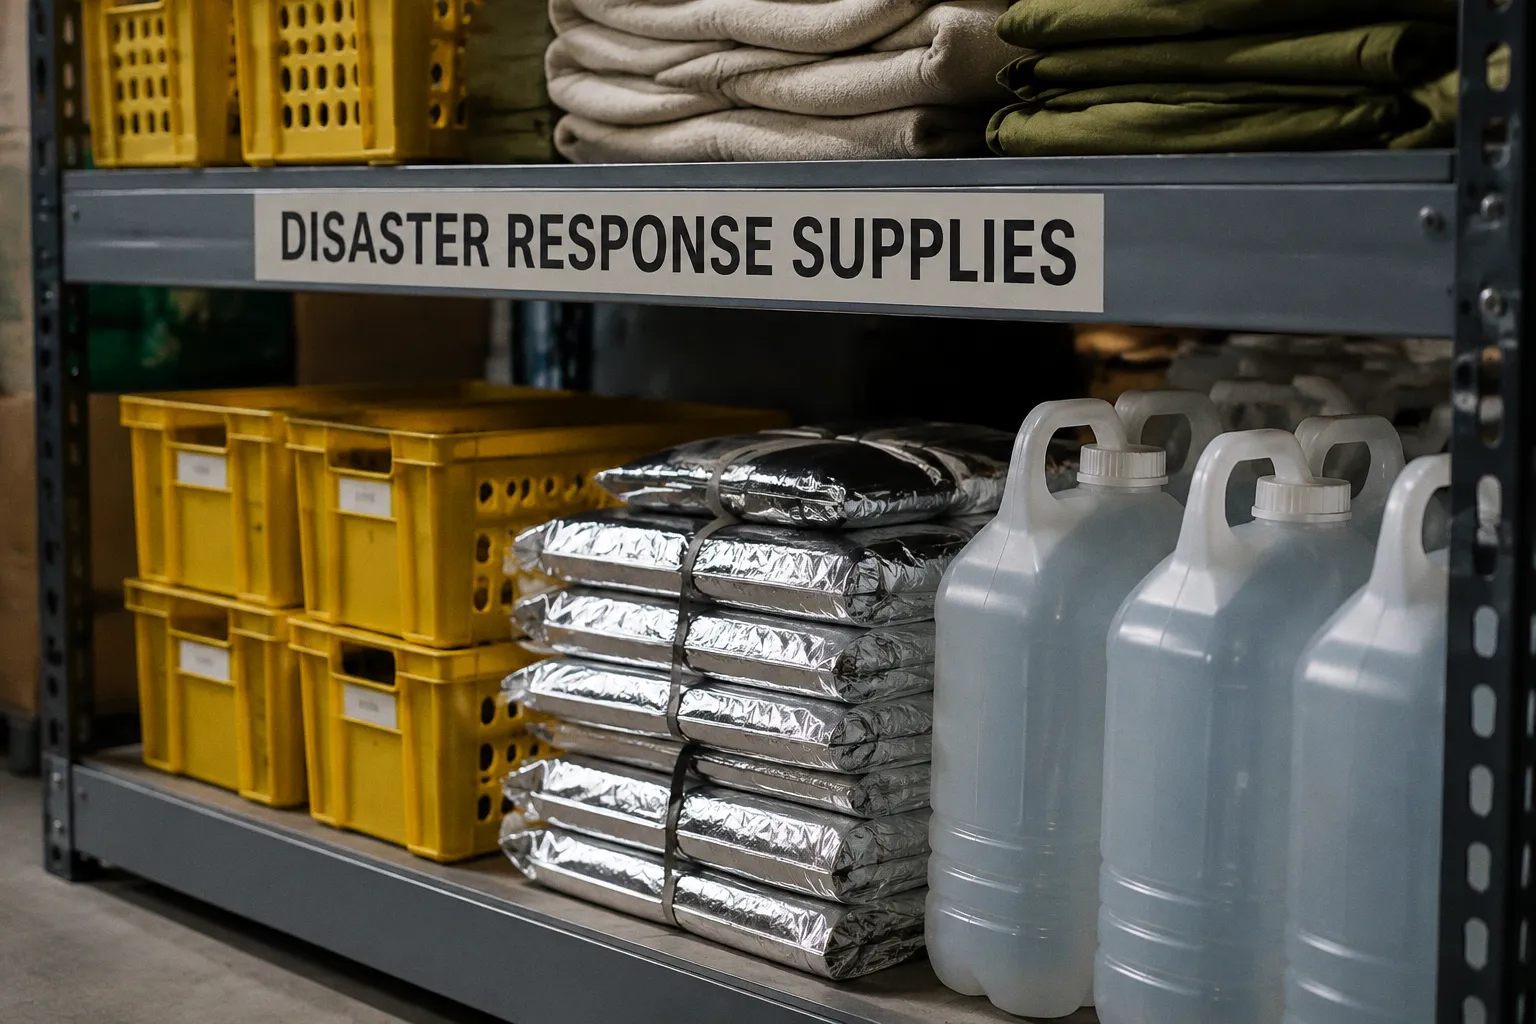
That still does not create a deployable disaster response team.
The first operational rule is simple: do not self-deploy. Faith-based disaster response organizations consistently stress that volunteers should respond only after an invitation from local community leaders, emergency management authorities, or an established response organization. An unrequested team can block roads, consume scarce supplies, enter unsafe buildings, and create additional work for the people already managing the incident.
Your congregation needs a deployment system before the emergency. That system must answer five questions quickly:
- Who authorizes the response?
- Who leads the team on site?
- Which volunteers are qualified for the assigned work?
- What documentation and equipment must travel with them?
- How will the church stay in contact with the team and protect essential records?
This is the working foundation of a church disaster ministry. Build it in advance. Test it before the first callout. Revise it after every exercise or deployment.
1. Set the coordination rule before anyone receives a call
The most important item on your church disaster response checklist is not a tool, vehicle, or first-aid kit. It is the callout protocol.
A disaster creates urgency. That urgency can push capable people into unsafe decisions. Someone sees a flood on the news, hears that a nearby town needs help, and begins organizing a private convoy. Another volunteer loads a truck without knowing whether the receiving community has requested equipment. A third person arrives at a damaged site without protective gear or a designated supervisor.
That is not readiness. It is uncontrolled movement.
Establish one authorized deployment pathway
Your congregation should designate the person or team responsible for receiving and verifying a deployment request. That person does not need to manage every detail alone, but the role must be clear.
Create a written process that covers:
1. Receiving the request
Record who requested assistance, which community or agency issued the request, what type of work is needed, and the expected operating period.
2. Verifying the request
Confirm that the request comes through a recognized local leader, emergency management agency, disaster relief organization, or response coordinator.
3. Defining the assignment
Do not send a general-purpose team when the receiving organization needs debris removal, shelter support, food distribution, documentation, or another specific function.
4. Selecting volunteers
Match people to the assignment, their training, their physical capacity, and their availability. A willing volunteer is not automatically the right volunteer for every job.
5. Approving the deployment
Identify who gives the final authorization. Put that decision with the congregation’s disaster ministry lead, pastor, council representative, or another agreed authority.
6. Communicating the plan
Give every volunteer the destination, reporting location, work scope, leader’s name, contact method, expected duration, and equipment requirements.
7. Closing the deployment
Record when the team returns, which tasks it completed, any injuries or incidents, equipment losses, and follow-up needs.
This is basic capacity building. It prevents five people from acting on five different versions of the same emergency.
A church disaster team is ready when it can wait for the right call, move under clear authority, and arrive prepared for the assignment actually requested.
Put self-deployment in writing
Your policy should state directly that volunteers must not travel independently to an affected area unless the congregation or coordinating agency has authorized the deployment.
Avoid soft wording. In a crisis, vague language becomes permission.
Use operational language such as:
- Do not travel to an affected site without an approved assignment.
- Do not enter a damaged property unless the site leader authorizes the work.
- Do not bring additional volunteers who are not listed on the deployment roster.
- Do not promise services, supplies, transportation, or financial assistance on behalf of the congregation.
- Do not share unverified information about needs, access routes, or shelter capacity.
- Report safety concerns to the team leader instead of improvising a solution.
The purpose is not to limit compassion. The purpose is to direct compassion where it can produce tangible help.
2. Build a command structure that works in the field
Disaster response is not a committee meeting. Noise, fatigue, damaged infrastructure, changing weather, and incomplete information can break down a loose leadership model within minutes.
Your team needs an obvious chain of command. Every volunteer should know whom to follow and whom to contact if the plan changes.
Many church disaster response structures use color-coded hard hats to make leadership visible:
- White Hat: Incident Commander or site leader
- Blue Hat: Team leader
- Yellow Hat: Team member
The colors are useful because they reduce confusion at a crowded work site. A volunteer does not need to search through a phone for a name while standing near damaged structures. The person with the white hat carries the overall site authority. The person with the blue hat directs the assigned team. Yellow-hat volunteers perform the work and report concerns through the team leader.
The exact system may differ between denominations and relief organizations. The principle does not: make authority visible and keep the reporting line short.
Define each role before deployment
White Hat: Incident Commander or site leader
The site leader coordinates with the receiving organization and controls the overall assignment. This person should:
- Confirm the team’s arrival and registration.
- Receive the work briefing from local leadership.
- Review the site assessment.
- Assign team leaders and work areas.
- Stop work when conditions become unsafe.
- Coordinate communications and changes in scope.
- Document incidents, injuries, and major decisions.
- Confirm the team’s release from the site.
The white-hat role requires judgment, not just seniority. Choose someone who can make a timely decision, communicate clearly, and refuse an unsafe request.
Blue Hat: Team leader
The team leader translates the site assignment into practical instructions. This person should:
- Conduct the team briefing.
- Confirm attendance and emergency contacts.
- Check that volunteers have the required gear.
- Explain the work boundary and hazards.
- Assign tasks according to ability and training.
- Maintain regular contact with the site leader.
- Monitor fatigue, hydration, and changing conditions.
- Keep the team together unless the plan specifically permits separation.
A blue-hat leader should not disappear into the work. Their job is to supervise the operation.
Yellow Hat: Team member
Team members complete assigned work, stay within the work boundary, use required protective equipment, and report hazards immediately.
A team member should not:
- Change the work plan independently.
- Invite unregistered people into the operation.
- Enter a structure without authorization.
- Operate unfamiliar equipment because it is available.
- Assume that a local resident’s request automatically changes the assignment.
- Leave the site without notifying the team leader.
This may sound strict. It is strict. Disaster sites punish ambiguity.
Use a pre-deployment briefing
Before departure, run a short briefing with the full team. Keep it focused. Cover:
- The verified requesting organization.
- The destination and reporting point.
- The assignment and expected schedule.
- The chain of command.
- The communication method.
- The required clothing and protective gear.
- Transportation and lodging arrangements, if applicable.
- Medical or mobility limitations that affect assignment.
- The process for reporting an injury or unsafe condition.
- The conditions that will trigger a pause or cancellation.
Do not treat the briefing as optional because the team has deployed before. Familiar volunteers can become overconfident. Experienced teams still need a common operating picture.
3. Vet volunteers and match them to the work
A congregational disaster relief plan should include a current volunteer roster, not a stack of old sign-up sheets.
Your roster needs enough information to support safe assignment and communication. At minimum, maintain:
- Full name and preferred contact method.
- Emergency contact.
- Relevant training or professional qualifications.
- Physical limitations that affect task assignment.
- Availability for short-term or extended deployment.
- Transportation capacity.
- Willingness to perform specific types of service.
- Date of most recent orientation or safety briefing.
Do not turn this into a bureaucratic exercise. The goal is to avoid sending an unprepared person into a hazardous environment or assigning a physically demanding task to someone who cannot safely complete it.
Verify specialized volunteers
If your emergency plan includes medical practitioners or other regulated professionals, use a defined verification process before activation. The research guidance for activated emergency plans includes primary-source verification for medical practitioners within 72 hours.
That requirement should become an internal procedure:
1. Identify the credential needed for the assignment.
2. Verify it through the relevant primary source.
3. Record who completed the verification and when.
4. Confirm that the volunteer understands the limits of the assignment.
5. Recheck information when the deployment extends or conditions change.
Do not assume that a professional title alone establishes current authorization to practice. Do not publish personal credentials in a public roster. Keep sensitive information restricted to the people who need it for deployment decisions.
Use a qualification matrix
A simple internal matrix will help your ministry lead assign people quickly. It can include categories such as:
| Assignment area | Useful qualifications or readiness indicators | Additional deployment needs |
|---|---|---|
| Site leadership | Incident coordination experience, clear communication, decision-making under pressure | Visible identification, communication device, documentation forms |
| Team supervision | Safety briefing ability, task coordination, reliable reporting | Blue-hat identification, roster, assignment details |
| Debris or property work | Appropriate orientation, physical readiness, equipment familiarity | Protective gear, site assessment, work boundaries |
| Shelter or hospitality support | Reliability, calm communication, ability to follow procedures | Registration process, shift schedule, contact tree |
| Food or supply distribution | Organization, inventory discipline, respectful public interaction | Distribution plan, stock records, receiving instructions |
| Medical support | Current credentials verified through a primary source | Scope-of-practice guidance, documentation, coordination with local leadership |
The matrix does not replace the receiving organization’s requirements. It gives your congregation a starting point for responsible selection.
4. Complete documentation before the team leaves
Paperwork is part of deployment readiness. A team that cannot document who is serving, under whose authority, and under what conditions is difficult to protect and difficult to manage.
Pre-deployment documentation commonly includes:
- Liability release and indemnity agreements.
- Volunteer deployment forms.
- Job site assessment forms.
- Emergency contact information.
- Attendance and arrival records.
- Incident or injury reports.
- Equipment issue and return records.
- Contact information for the receiving organization.
Keep blank copies in the church disaster ministry supply kit. Keep secure digital copies where authorized leaders can access them if the church building is unavailable.
Make the forms usable
A form that takes too long to complete will fail during an urgent callout. Use plain language and separate information by purpose.
The deployment form should capture:
- Volunteer identity.
- Emergency contact.
- Assignment.
- Departure and expected return information.
- Relevant health or accessibility information.
- Required acknowledgments.
- Signature and date.
The job site assessment form should help the team identify conditions that affect the assignment, such as:
- Structural damage.
- Standing water or unstable ground.
- Downed utility lines.
- Contaminated materials.
- Traffic or access restrictions.
- Weather exposure.
- Need for additional protective equipment.
- Presence of children, older adults, or other vulnerable people near the work area.
Do not allow a completed form to create false confidence. Documentation does not make an unsafe site safe. It gives leaders a record and a decision framework.
Protect private information
Church disaster ministries often collect more personal information than they expect. Medical details, emergency contacts, identification documents, and volunteer records require controlled access.
Assign responsibility for:
- Where paper records are stored.
- Who may view them.
- How forms travel with the team.
- How digital records are backed up.
- How outdated records are destroyed.
Do not leave volunteer information in an unlocked vehicle or an open shared folder. Good ministry practice includes good information handling.
5. Assemble survival kits that support the first hours
A survival kit does not replace agency coordination, professional rescue, or site-specific equipment. It gives volunteers basic support while they travel, wait for instructions, or work through an interruption in normal services.
Lutheran disaster preparedness guidance recommends housing congregational emergency kits in heavy-duty Cordura nylon bags or backpacks. The container matters because a kit that tears, absorbs water, or becomes impossible to carry is not operational equipment.
Basic kit contents can include:
- Emergency space blankets.
- Rain gear.
- Drinking water and simple food items.
- Flashlight and spare batteries.
- First-aid supplies appropriate to the team’s role.
- Work gloves.
- Eye protection.
- Hand sanitizer and basic hygiene supplies.
- Whistle or other signaling device.
- Notepad, permanent marker, and printed contact information.
- Phone charging equipment where available.
- Copies of deployment and incident forms.
Some preparedness materials cite a basic cost of about $10 per survival kit when items are purchased in bulk. Treat that as a planning reference, not a universal price or a complete equipment budget. Costs vary by contents, supplier, region, and the needs of the assignment.
Separate personal gear from team gear
Every volunteer should know what they must bring personally and what the church provides.
Personal requirements may include:
- Weather-appropriate clothing.
- Closed-toe, sturdy footwear.
- Prescription medication.
- Personal hygiene supplies.
- Identification.
- Water bottle.
- Any mobility or accessibility equipment.
Team-issued equipment may include:
- Hard hats with leadership colors.
- Protective eyewear.
- Work gloves.
- High-visibility clothing.
- Shared communication equipment.
- Printed site documents.
- Additional first-aid or sanitation supplies.
Create an equipment sign-out process. Record who receives shared items and who returns them. After each deployment, clean, inspect, replace, and repack the equipment. Do not wait for the next disaster to discover that batteries are missing or rain gear is damaged.
Deployment capacity is built between emergencies: one verified roster, one packed bag, one tested communication tree at a time.
6. Build the communication tree and backup plan
Communication failures create duplicate work quickly. One volunteer calls the pastor. Another calls a relief organization. A third posts an unverified request online. Within an hour, the congregation may have three conflicting instructions.
Build a communication tree with a primary and backup contact for every key role.
A basic structure should include:
1. Deployment lead
Receives or confirms the request and authorizes the next step.
2. Site leader
Coordinates the team after arrival.
3. Team leaders
Relay instructions to assigned volunteers.
4. Congregational contact
Updates church leadership and the wider congregation as appropriate.
5. Emergency contact point
Receives urgent messages from families or volunteers who are not on site.
Each person should know:
- Who calls them.
- Who they call next.
- Which channel to use.
- What to do if the primary contact does not respond.
- What information may be shared publicly.
- When the communication tree closes.
Do not rely on a single messaging application. A damaged network, dead battery, or poor reception can end a digital plan. Maintain printed contact information and establish a meeting or check-in procedure for situations where mobile communication fails.
Set a reporting rhythm
The team should agree on when it will check in with church leadership or the coordinating organization. The interval depends on the assignment and local requirements. The essential point is consistency.
A check-in should report:
- Team location.
- Number of active volunteers.
- Work completed.
- New hazards.
- Supply or staffing needs.
- Changes to the expected return time.
- Injuries or incidents.
Keep reports factual. Separate confirmed information from assumptions. Do not transmit rumors simply because they sound urgent.
7. Protect the congregation’s records before a disaster
A church cannot serve effectively if its own essential records disappear during the incident.
Back up key documents off site and store physical copies in waterproof, fireproof lockboxes. Preparedness guidance specifically identifies records such as:
- Member registries.
- Financial records.
- Insurance policies.
Your congregation may also need access to property documents, vendor contacts, banking information, ministry rosters, and emergency procedures. Decide which records are essential to continuity and where the protected copies will remain.
Assign record ownership
For each critical document, identify:
- The person responsible for maintaining it.
- The location of the current copy.
- The location of the backup.
- The person authorized to access it during an emergency.
- The review date.
Do not assume that the church treasurer, office administrator, pastor, or council chair will automatically know where every record is. Disaster planning exposes informal systems. Convert the knowledge in one person’s head into a controlled process the congregation can operate.
Test access, not just backup
A backup that nobody can open is not a backup. Schedule a practical test. Confirm that authorized leaders can locate the files, access the lockbox, understand the naming system, and use the information without relying on the person who created it.
This is especially important when the church building becomes inaccessible. Your response team may need insurance information, contact records, or financial authorization while operating from another location.
8. Run a readiness exercise before the real callout
A written church disaster relief volunteer preparation plan is necessary. It is not sufficient.
Run a tabletop exercise with the people who will actually carry the plan. Give them a realistic but controlled scenario: a local storm, flood, fire, or other event that requires the congregation to respond through an authorized partner.
Then walk through the full sequence:
- Who receives the initial request?
- How does the church verify it?
- Who authorizes deployment?
- Which volunteers receive the call?
- Where are the forms?
- Who checks the kits?
- Who assigns the white, blue, and yellow hats?
- How does the team report its arrival?
- What happens if the primary contact is unreachable?
- Who updates the congregation?
- How does the team close the assignment?
Record every delay and unclear handoff. Do not defend the system while testing it. Fix the system.
Review the plan after every deployment
A short debrief should capture:
- What worked without explanation.
- Which decision took too long.
- Which form was missing or confusing.
- Which equipment failed or ran short.
- Where communication broke down.
- Whether volunteer assignments matched actual needs.
- What the receiving organization would change next time.
Turn the debrief into assigned actions. Give each action an owner and a completion date. Otherwise the same problem will return in the next deployment.
Common failure points in church disaster ministry
Most response problems do not begin with bad intentions. They begin with gaps between intention and execution.
Watch for these recurring failures:
1. The congregation sends help before receiving an invitation.
Correct the callout policy and require authorization before travel.
2. Everyone assumes someone else is in charge.
Name the site leader and team leaders before departure. Use visible identifiers.
3. The team carries supplies but not documentation.
Store forms with the deployment equipment, not in a separate office cabinet.
4. Volunteers arrive without the required gear.
Use a departure check and assign one person to verify equipment.
5. A skilled person receives no clear scope of work.
Credentials do not replace local coordination. Match expertise to the actual assignment.
6. The church loses contact with the team.
Build primary and backup communication routes and maintain printed information.
7. The response plan depends on one experienced leader.
Cross-train at least one backup for every critical role.
8. The congregation treats every disaster as the same.
Keep the core protocol consistent, but adapt equipment, training, and staffing to the incident and the receiving organization.
The final deployment standard
Your congregation does not need to build a massive emergency operation to become useful. It needs a controlled, repeatable process.
Before activating a church disaster response team, confirm that:
- The request for help is verified.
- Self-deployment is prohibited.
- The assignment has a defined scope.
- The chain of command is visible.
- Volunteers are selected for the actual work.
- Specialized credentials are verified when required.
- Liability, deployment, and site assessment forms are ready.
- Survival kits are packed and inspected.
- Communication contacts have primary and backup routes.
- Essential church records have protected offsite backups.
- The team knows how to report hazards, incidents, and completion.
That is the difference between a congregation that wants to help and a congregation that can help safely.
Disaster relief volunteering requires compassion, but compassion needs logistics to reach people effectively. Build the protocol now. Train the leaders. Pack the bags. Test the call tree. When the invitation comes, your church should not spend the first day deciding how to begin. It should be ready to deploy under clear authority and deliver tangible support where it is needed.