Church Community Service Day: A Pre-Event Checklist
A church community service day can create real value for a school, shelter, neighborhood association, or local nonprofit.
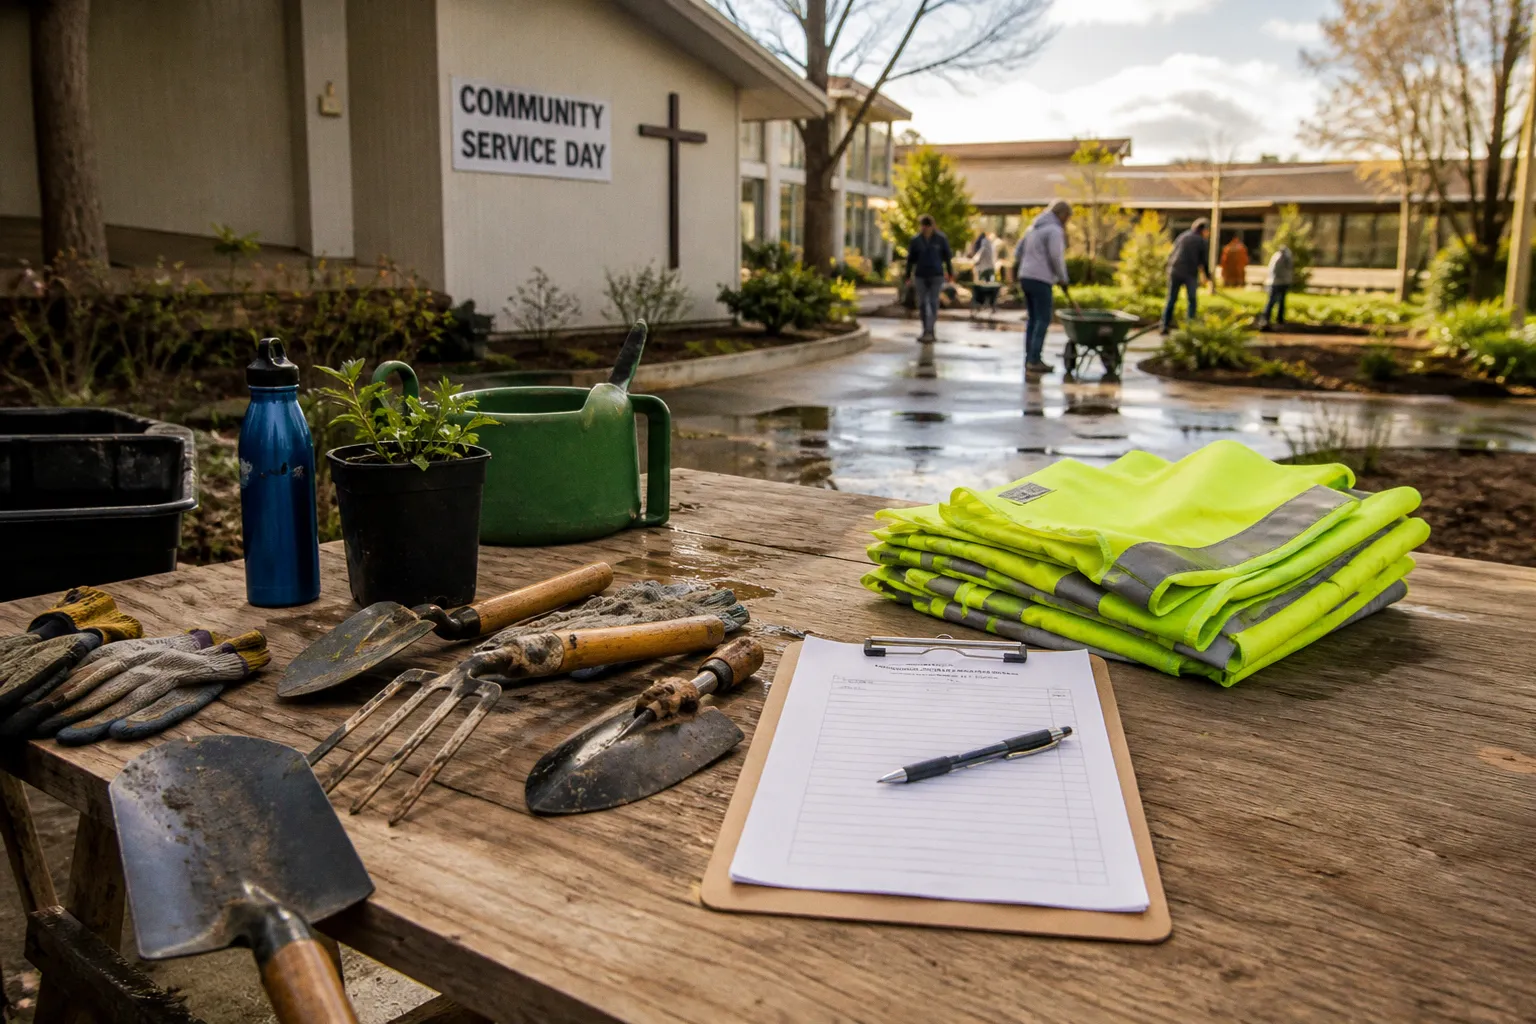
It can also collapse under simple operational failures: unclear project scope, missing tools, unassigned volunteers, unsafe work areas, or a communication plan that ends with one group text the night before.
The solution is not more enthusiasm. Your congregation already has that. The solution is deployment discipline.
Use this church community service day checklist to move from a good idea to a controlled, useful, and safe service operation. Start eight weeks out. Assign ownership. Confirm the site before recruiting heavily. Build the work plan around the capacity you actually have—not the number of people who say they are “probably available.”
A successful service day is not measured by how many volunteers register. It is measured by whether the partner receives tangible help without inheriting new problems.
The 8-Week Strategic Timeline for Outreach Success
An eight-week planning window gives your team enough time to define the mission, coordinate with a local partner, recruit volunteers, secure supplies, and close the loop after the work is complete. Shorter timelines can work for a small food-pantry shift or a recurring shelter team. They create unnecessary risk for painting, landscaping, repairs, cleanup, or multi-site projects.
Treat the timeline as a project deployment schedule. Every week needs a decision, an owner, and a deliverable.
Eight weeks before: define the mission
Begin with a short planning meeting. Keep it operational. Your team should leave with answers to five questions:
- Who is the partner? Name the school, shelter, nonprofit, congregation, or neighborhood organization.
- What problem will the service day solve? “Help the school” is too broad. “Paint two exterior storage sheds and clear the overgrown side entrance” is actionable.
- What work can volunteers safely complete in four hours?
- Who owns the partner relationship?
- What does success look like by noon on service day?
Do not build the event around a general promise to “serve wherever needed.” That places the entire planning burden on the site leader and produces a scattered volunteer experience. Ask the partner for a prioritized project list. Separate urgent work from desirable work.
A useful first-pass project brief includes:
1. The exact work area.
2. The expected number of volunteers.
3. The tools and materials required.
4. The skills needed, if any.
5. The physical demands of the work.
6. Weather or access limitations.
7. The partner’s definition of completion.
Assign one church contact as the deployment lead. Assign one site leader for each project area. These roles cannot remain collective. When everyone owns communication, no one owns it.
Seven weeks before: confirm capacity and constraints
Now test the plan against your congregation’s actual capacity. Review likely volunteer numbers by group:
- Adults with general labor capacity.
- Skilled volunteers for repairs, electrical work, carpentry, or painting.
- Youth volunteers.
- Drivers and people who can transport tools.
- First-aid or medically trained volunteers.
- Team leaders who can supervise without doing every task themselves.
At this stage, identify work that requires licensed professionals or additional insurance review. A church service day is not the time to improvise on gas lines, major electrical systems, structural repairs, or hazardous-material removal.
Build a simple capacity map:
| Project type | Volunteer capacity needed | Common bottleneck | Planning response |
|---|---|---|---|
| Landscaping and grounds cleanup | General labor, 6–12 people | Not enough rakes, shovels, or wheelbarrows | Request tools from volunteers in advance |
| Interior painting | 4–8 people per room | Poor ventilation or unprepared surfaces | Confirm access, ventilation, and prep work |
| Exterior painting | 6–10 people | Wet or dirty surfaces | Pressure wash at least one day before painting |
| Handyman repairs | 2–4 skilled volunteers plus helpers | Scope expands once work begins | Freeze the task list with the partner |
| Food pantry support | 6–15 people | Crowding and unclear stations | Set receiving, sorting, packing, and distribution roles |
This is the point where you should reduce the scope if necessary. A smaller completed project creates more trust than a long list of unfinished tasks.
Six weeks before: conduct the site walk-through
For school partnerships, schedule the site walk-through in June, before summer break, whenever possible. Meet with the principal and facilities team. Do not rely on photos or a written request alone. A ten-minute site visit often reveals the facts that change the entire deployment:
- The “small” painting project requires extensive scraping.
- The outdoor area has no water access.
- The gate opens only during a narrow time window.
- The school has a locked storage room but no one available to unlock it.
- The partner expects volunteers to bring all tools.
- A project sits near traffic, students, playground equipment, or fragile landscaping.
Walk the site with the person who will approve the finished work. Photograph the work areas if the partner permits it. Mark entrances, restrooms, parking, water sources, first-aid locations, electrical outlets, and areas volunteers should not enter.
End the walk-through with a ranked project list:
- Priority 1: Must complete.
- Priority 2: Complete if time and capacity allow.
- Priority 3: Hold for a future service day.
Do not let Priority 3 tasks appear on the volunteer briefing sheet. People need a clear finish line.
Five weeks before: build the work package
Turn each priority project into a work package. Each package should state:
- Project name.
- Site leader.
- Volunteer target.
- Start and stop time.
- Materials.
- Tools.
- Safety risks.
- Completion standard.
- Cleanup responsibility.
For example:
Project: Repaint exterior storage shed
Team: Six volunteers
Leader: Assigned facilities volunteer
Preparation: Surface pressure washed one day before the event and confirmed dry
Materials: Exterior paint, brushes, rollers, trays, drop cloths, painter’s tape
Safety: Gloves, eye protection, stable ladders, no painting during unsafe weather
Completion standard: Two coats on designated surfaces, tools cleaned, paint secured, surrounding area free of debris
This level of detail prevents the most common service-day failure: volunteers arrive ready to work, but the team has not defined what “done” means.
Four weeks before: open registration and recruit leaders
Open registration with specific roles, not a blank form that asks people to “help wherever needed.” Give volunteers a practical choice:
- Grounds and landscaping.
- Painting and surface preparation.
- Repairs and handyman work.
- Food sorting or pantry setup.
- Hospitality and check-in.
- Transportation and tool hauling.
- Cleanup and waste removal.
Recruit leaders before you recruit the full volunteer team. A ratio of one capable leader for each project area works better than one overwhelmed coordinator managing every question.
Ask leaders to confirm three things:
1. They understand the work package.
2. They can arrive early enough for setup.
3. They will stop work when conditions become unsafe or the scope changes.
The leader’s job is not to be the strongest worker on the team. The leader protects the plan, distributes work, manages pace, and reports problems quickly.
Three weeks before: lock materials and communications
Finalize the supply list with the partner and site leaders. Identify what the church will purchase, what the partner will provide, and what volunteers should bring.
A site leader may need a small reimbursable budget for miscellaneous supplies and snacks. A typical allowance is around $100, but set the amount before purchases begin and define the receipt process. Do not ask volunteers to absorb unpredictable project costs personally.
At this point, send the first full volunteer message. Include:
- Date and service window.
- Arrival time.
- Meeting location.
- Parking instructions.
- Project assignment.
- Clothing requirements.
- Personal safety gear.
- Food and water arrangements.
- Youth participation rules.
- Contact number for event-day questions.
Two weeks before: verify every dependency
Run a readiness meeting with the deployment lead, site leaders, and partner contact. Review each work package line by line.
Confirm:
- Site access and keys.
- Weather backup plan.
- Parking and unloading.
- Restroom access.
- Tool inventory.
- Material delivery.
- First-aid supplies.
- Emergency contacts.
- Volunteer roster.
- Youth waivers or parental participation.
- Waste disposal.
- End-of-day site inspection.
This meeting should produce a short list of unresolved items. Give each item an owner and deadline. “Someone will handle it” is not an assignment.
One week before: freeze the operation
Avoid adding new projects in the final week. New scope creates new safety questions, supply gaps, and volunteer confusion.
Send the final registration review to leaders. Confirm the number of volunteers assigned to each project. Identify gaps early. If the painting team has three people and the project needs eight, reallocate before the morning of the event.
Prepare the check-in station materials:
- Registration forms.
- Name tags.
- Volunteer welcome signage.
- First-aid kit.
- Emergency contacts.
- Liability waivers.
- Pens and clipboards.
- Project assignment sheets.
- Site map, if needed.
- Extra water and basic snacks.
Have signs ready before the event. Volunteers should not need to ask where to park, where to check in, or where to find their team.
Three days and 24 hours before: send automated reminders
Use two reminders. Send one three days before the event and another 24 hours before.
The three-day message confirms the full logistics. The 24-hour message should be short and direct:
Tomorrow’s service day: Arrive at [time] at [location]. Wear closed-toe shoes and work clothing. Bring work gloves, sunscreen, and a filled water bottle. Your assigned team is [team]. Park at [location]. Call [number] if your plans change.
This communication cadence matters. People forget. Details change. A reminder prevents avoidable gaps in attendance and equipment.
Site Selection and Early Coordination With Local Partners
A local mission project succeeds when the church and the partner define the work together. Your congregation brings people and energy. The partner brings knowledge of the site, the actual need, and the standard the work must meet.
Do not treat the partner as a destination. Treat the partner as a project owner.
Select a project with a visible, manageable outcome
The best community service projects have four characteristics:
- The need is specific.
- The work fits the available volunteer skills.
- The result can be completed or meaningfully advanced in one service window.
- The partner can maintain the result afterward.
A school may want ten different improvements. A shelter may have a long maintenance backlog. A food pantry may need both sorting and distribution support. Your job is to establish a useful boundary.
Ask the partner:
- Which task creates the most immediate benefit?
- What work has already been attempted?
- What must volunteers avoid?
- Who will approve changes on site?
- What materials or tools are already available?
- What needs to happen before volunteers arrive?
- What cleanup standard does the site require?
These questions support real capacity building. They also prevent the church from arriving with a generic service package that does not match the partner’s needs.
Complete a neighborhood audit before choosing the deployment model
A neighborhood audit does not require a large research project. It requires direct observation and a few conversations. Review the site’s access, transportation, surrounding community, safety conditions, and operating schedule.
For a food pantry, the audit may reveal that volunteer parking blocks distribution access. For a homeless shelter, it may show that the service window overlaps with intake. For a school, it may identify a facilities restriction or summer construction schedule.
Record:
- Primary entrance and loading zone.
- Public transportation access.
- Parking limits.
- Nearby hazards.
- Weather exposure.
- Restroom and water availability.
- Partner staff availability.
- Noise or operating restrictions.
- Disposal requirements.
- Accessibility needs.
Share the relevant findings with volunteers. People work better when the site makes sense before they arrive.
Confirm permission, coverage, and local rules
Insurance coverage and municipal requirements vary. Do not assume that the church’s general policy answers every question for every site. Ask the church’s designated administrator or insurer about the planned activity, especially when the work involves ladders, tools, vehicles, minors, or property modifications.
Also ask the partner whether the site requires:
- Waivers.
- Background checks.
- Specific training.
- Proof of insurance.
- A permit.
- Restricted work hours.
- A designated supervisor.
Do not present unknown insurance limits or permit requirements as settled facts. Confirm them for the actual location and project.
Logistics: Managing Supplies, Tools, and Surface Preparation
The supply plan determines whether the service day feels organized or improvised. Hosting sites rarely have enough inventory for a large volunteer group. Ask volunteers to bring personal safety gear and larger tools when appropriate.
Separate personal gear from shared equipment
Put the request in the registration form and repeat it in the reminders.
Volunteers should generally bring:
- Work gloves.
- Sunscreen.
- A filled water bottle.
- Closed-toe shoes.
- Weather-appropriate work clothing.
- Eye protection when the project requires it.
The church or site leader should coordinate larger shared tools such as:
- Wheelbarrows.
- Rakes.
- Shovels.
- Ladders.
- Extension cords.
- Drop cloths.
- Paint rollers and trays.
- Buckets and cleaning supplies.
Create a tool sign-out process for expensive or specialized equipment. Assign one person to track what arrives and what leaves. This takes minutes and prevents a confusing end-of-day search.
Build a materials list by project, not by category
A single list labeled “paint supplies” is not enough. Break materials down by work package. Include estimated quantities and a responsible purchaser.
For exterior painting, the list may include surface cleaner, scrapers, brushes, rollers, trays, drop cloths, painter’s tape, gloves, eye protection, and waste bags. For landscaping, it may include yard-waste bags, pruners, rakes, shovels, wheelbarrows, work gloves, and water.
Ask the partner to approve colors, placement, and disposal procedures before purchase. A volunteer should never have to guess which wall receives which paint.
Prepare surfaces before the volunteer window
Volunteer time should focus on work that benefits from many hands. Do not spend the first hour discovering that the surface is dirty, wet, or damaged beyond the original scope.
Outdoor surfaces scheduled for painting should be pressure washed at least one day in advance so they have time to dry. Assign someone to inspect the surface before the event. If rain or humidity delays drying, change the work plan instead of pushing paint onto an unready surface.
Use the same principle for other projects:
- Move unnecessary furniture before volunteers arrive.
- Mark areas that require repair before painting.
- Stage materials near—but not inside—the work zone.
- Remove trip hazards.
- Unlock gates and storage areas.
- Place waste containers where teams can reach them.
The four-hour volunteer window should deliver labor, not preparation that the planning team could have completed earlier.
Keep food and hydration simple
A Saturday service window from 8:00 a.m. to 12:00 p.m. gives teams enough time to complete substantial work while limiting the need for a full lunch. Provide light breakfast items, snacks, and water. Assign a hospitality lead so the project leader does not become the person refilling cups and searching for coffee.
Plan hydration by site conditions. Outdoor summer work requires more attention than an indoor sorting project. Schedule short water breaks before people need them. Keep water accessible to every team, not only at the registration table.
Volunteer Communication and Safety Protocols
Volunteer safety begins before arrival. It depends on clear assignments, appropriate supervision, and the willingness to stop work when conditions change.
Assign volunteers before the event
Create the roster by team and role. Avoid assigning everyone to “general volunteer.” A clear assignment reduces check-in congestion and gives leaders a starting point.
A practical roster includes:
| Role | Primary responsibility | Backup responsibility |
|---|---|---|
| Deployment lead | Owns the full schedule and partner relationship | Resolves cross-team problems |
| Site leader | Directs one project area | Reports progress and safety issues |
| Check-in lead | Registers volunteers and distributes assignments | Maintains emergency information |
| Tool lead | Tracks shared equipment | Coordinates missing or damaged tools |
| Hospitality lead | Manages water, snacks, and breaks | Watches for heat or fatigue concerns |
| Safety contact | Reviews hazards and first-aid response | Escalates incidents to church leadership |
Share the roster with leaders, not necessarily every volunteer. Protect personal information and provide only the contact details people need.
Apply youth participation rules consistently
Children aged 12 and under must work directly alongside their parents. Minors aged 13–16 may work independently only when a parent or guardian is present or a signed parental consent waiver is in place. Do not create informal exceptions because a team feels short-staffed.
Match young volunteers to appropriate work. Avoid assigning minors to ladders, power tools, traffic-facing areas, hazardous materials, or tasks requiring independent judgment beyond their training. A parent’s presence does not remove the need for active supervision.
At check-in, confirm the required consent or waiver before assigning the young person to a work team. If the documentation is missing, move the volunteer to a safe, supervised role only if your church and site policies allow it.
Use a short safety briefing
Do not deliver a forty-minute lecture. Give a direct briefing before teams disperse:
1. Identify the site boundaries.
2. Point out first-aid supplies and emergency exits.
3. Explain the stop-work signal.
4. Review tool expectations.
5. Confirm water and break locations.
6. State the youth supervision rules.
7. Tell volunteers who to contact with concerns.
8. Remind everyone that the project scope is fixed.
Ask team leaders to repeat the safety points that apply to their work. A landscaping team needs different instructions from a painting team.
Build stop-work authority into the plan
Volunteers should understand that anyone can raise a safety concern. The site leader pauses the task, evaluates the condition, and contacts the deployment lead or partner representative when needed.
Stop work for:
- Lightning or dangerous weather.
- Unstable ladders or surfaces.
- Unidentified chemicals or hazardous materials.
- Exposed electrical hazards.
- Traffic or public access that cannot be controlled.
- Serious fatigue, heat illness, or injury.
- Work that exceeds the approved scope.
This is not a failure of service. It is responsible service.
Executing the Four-Hour Service Window
A four-hour workday needs a controlled start, a visible midpoint, and a disciplined close. Without those markers, teams lose time during setup and continue working after cleanup should have begun.
7:30–8:00 a.m.: setup and leader briefing
Site leaders arrive before volunteers. Set up check-in, signs, water, tools, and project materials. Walk each work area once more.
Review:
- What must happen first.
- Where teams stage materials.
- Which tasks can run in parallel.
- What work should stop by 11:15.
- Who inspects the finished area.
- Where waste and tools go.
Do not wait for volunteers to expose a missing dependency. Resolve it before the start signal.
8:00–8:20 a.m.: check-in and deployment
Keep check-in moving. Confirm attendance, distribute name tags, verify waivers, and direct each person to the assigned team.
The check-in lead should not answer every project question. Route technical or task-specific questions to site leaders. This protects the deployment schedule.
8:20–10:45 a.m.: primary work period
Leaders should set a visible first milestone. For example:
- Finish surface preparation on the first wall.
- Clear the side entrance.
- Sort the first delivery pallet.
- Repair the designated section of fencing.
- Complete the first room before moving to the next.
A milestone gives the team feedback. If progress is slow, the leader can adjust labor before the final hour.
Keep the partner informed. If the original surface condition changes the plan, do not silently improvise. Ask for approval before expanding or altering the work.
10:45–11:15 a.m.: quality check and final tasks
Stop starting new work. Focus on completion. The site leader should inspect:
- Coverage and finish quality.
- Loose materials and debris.
- Tool condition.
- Waste placement.
- Damage to surrounding areas.
- Accessibility of entrances and paths.
- Any unfinished work that needs a clear handoff.
If a task cannot meet the completion standard, document what remains. Do not call an incomplete project finished because the volunteers are tired.
11:15 a.m.–12:00 p.m.: cleanup, partner review, and departure
Reserve time for cleanup. This is part of the service, not an optional final activity.
Each team should:
- Clean and return tools.
- Remove tape and protective coverings.
- Collect debris.
- Consolidate unused materials.
- Report damaged equipment.
- Photograph completed work if the partner permits it.
- Walk the site with the partner representative.
Ask the partner one practical question: What needs attention before the next group arrives? Record the answer.
Close with a brief thank-you and clear departure instructions. Do not trap volunteers in a long meeting after a physically demanding morning. If your congregation wants a prayer or reflection, keep it focused and connected to the people and place served. The day’s ministry should remain visible in the work itself and in the relationships built around it.
The Post-Event Closeout: Turn One Day Into Ongoing Ministry
The final checklist item happens after the tools are packed. Send thank-you messages within 48 hours. Thank volunteers by role and contribution. Contact the partner separately and ask for direct feedback.
Record:
- Number of volunteers who served.
- Hours contributed.
- Projects completed.
- Materials used.
- Tools borrowed.
- Incidents or near misses.
- Unfinished work.
- Partner feedback.
- Recommended next action.
This information supports future congregational volunteer events. It also prevents your team from rebuilding the same plan from scratch.
Schedule a short debrief with leaders. Ask:
- Where did volunteers lose time?
- Which supply assumptions failed?
- Did the project match the partner’s need?
- Were youth assignments handled correctly?
- Did the four-hour window work?
- Which task belongs in a future handyman ministry or recurring service team?
- What should the church stop doing?
A service day can become a pipeline for deeper local ministry: monthly food pantry support, regular shelter shifts, seasonal school maintenance, disaster relief volunteering, or a church handyman ministry that responds to clearly defined community needs. But do not promise an ongoing program before you have the people, tools, and leadership to sustain it.
Your congregation does not need a perfect event. It needs a reliable process. Start eight weeks out. Complete the site walk-through. Freeze the scope. Communicate at three days and 24 hours. Protect volunteers. Finish the cleanup. Ask the partner what actually helped.
That is how faith-based community service becomes tangible, repeatable, and worthy of the trust a neighborhood places in your church.